Difference between revisions of "Cv4/stage3"
From Castlevania Speedrunning
TheMakkolv (talk | contribs) |
TheMakkolv (talk | contribs) |
||
| Line 77: | Line 77: | ||
'''Notes:''' | '''Notes:''' | ||
* Time saving options for the 3-2 Waterfall Climb. | * Time saving options for the 3-2 Waterfall Climb. | ||
| + | |||
| + | == Dragon Boost Damage Boost Time Save == | ||
| + | |||
| + | {{#ev:youtube|cs79X73nDfg|560||}} | ||
| + | |||
| + | '''Notes:''' | ||
| + | * Time save comparison for the 3-3 Bone Dragon Damage Boost. | ||
Revision as of 03:18, 25 January 2021
 | |
| Game | Super Castlevania IV |
|---|---|
| Level sections | 3-1, 3-2, 3-3 |
| Level name | Cave/Submerged City |
| Previous level | Stage 2 |
| Next level | Stage 4 |
Contents
Safe Route
-->Need vid here
Optimal Route
Top Splits and Time Saves
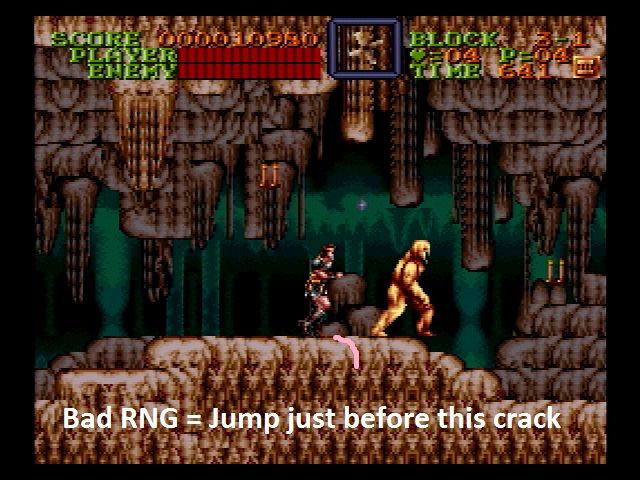
3-1 Mudmen RNG
Notes:
- Whip down at the Mudmen a later than usual. This will ensure that even with the worst pattern (where the Mudmen hugs the corner), Simon will not take damage.
3-2 Eyeball Boost
Alternative Optimal Strats
3-3 Fast Bone Dragon Kill
Note:
- Very hard strat to nail. Executing a whip cross is a one frame trick and on top you do whip cancel to be able to jump faster.
3-3 Climb
3-3 Boss Alternative
3-3 2nd Eyeball Damage Boost
3-3 2nd Eyeball Damage Boost (additional set-up)
Boss
Safe
Notes:
- A safe way to handle the 3-3 boss.
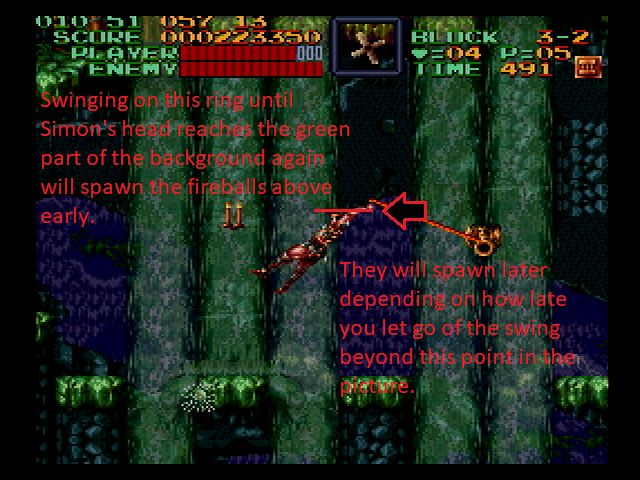
Ring Glitch Time Save Comparisons
Notes:
- Time saving options for the 3-2 Waterfall Climb.
Dragon Boost Damage Boost Time Save
Notes:
- Time save comparison for the 3-3 Bone Dragon Damage Boost.

