Difference between revisions of "Cv4/stage1"
From Castlevania Speedrunning
Bogaabogaa (talk | contribs) (→Safe Route) |
Bogaabogaa (talk | contribs) (→Optimal Route) |
||
| Line 53: | Line 53: | ||
</div> | </div> | ||
| + | == Pixels to jump into transition == | ||
| + | |||
| + | [[File:WallClipTPpixel1.jpg | 420px]] | ||
| + | [[File:WallClipTPpixel2.jpg | 420px]] | ||
| + | [[File:WallClipTPpixel3.jpg | 420px]] | ||
| + | [[File:WallClipTPpixel4.jpg | 420px]] | ||
| + | |||
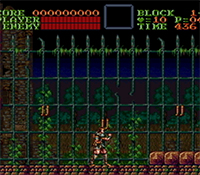
| + | Notes: These are the 4 pixels where Simon can jump into the screen transition [NOTE: Only relevant when performing the wall clip.] | ||
=== 1-3 Medusa Boosts === | === 1-3 Medusa Boosts === | ||
Revision as of 21:25, 24 March 2021
 | |
| Game | Super Castlevania IV |
|---|---|
| Level sections | 1-1, 1-2, 1-3 |
| Level name | Horse Stables |
| Previous level | None |
| Next level | Stage 2 |
Contents
Safe Route
A basic overview of the level if you're starting out with the game or want to know safer methods to finish the level.
Safe Strat 1-1 Video by JustDefend
Safe Strat 1-2 Video by JustDefend
Safe Strat 1-3 Video by JustDefend
Optimal Route
Top Splits and Time Saves
1-2 Ring Wall Clip Tutorials
1-2 Clip Tutorial (Joe)
Notes:
- 2 frame window (saves ~0.6sec)
1-2 Clip Tutorial (Hanage)
1-2 Clip Tutorial minimal input (bogaabogaa)
1-2 Wall Clip Tutorial (by jay_cee)
Pixels to jump into transition
Notes: These are the 4 pixels where Simon can jump into the screen transition [NOTE: Only relevant when performing the wall clip.]
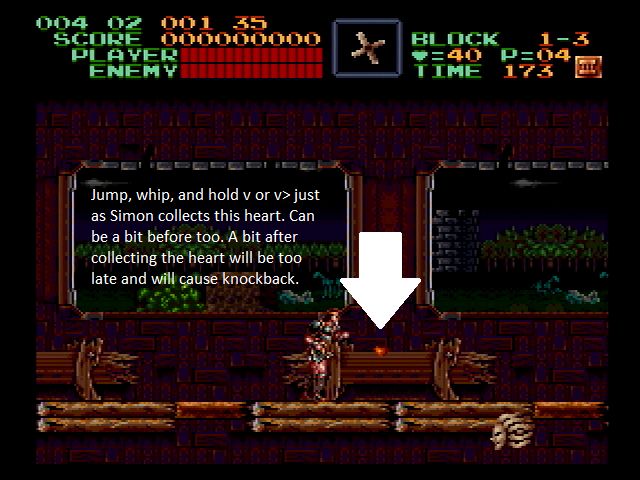
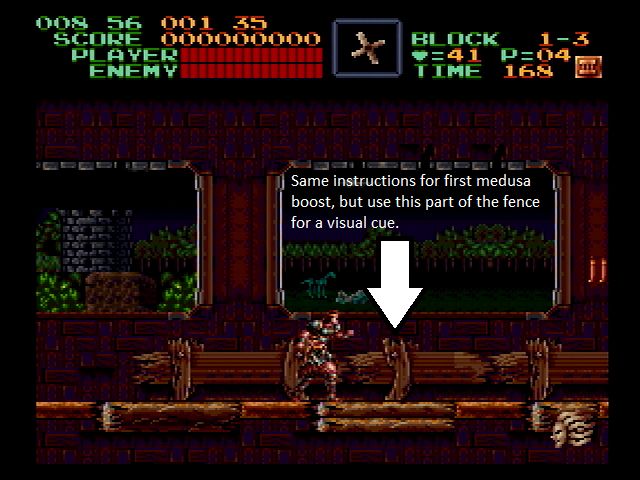
1-3 Medusa Boosts
Alternative Optimal Strategies
1-2 Ring-Room Full-Halfie
1-2 Ring Room Zip
Notes:
- 2 frame window. Much more difficult than wall clip, since you have to adjust during the swing to get the correct angle.
Stage 1 Route Improvement
Notes:
- This showcases an alternative bat strat
Ring Glitch Time Save Comparison
1-2 Ring-Room Time Save
- This showcases the time saved from successfully executing the Ring Glitch.

